Push pull force gauges, AKA push-pull gauges, are not standard tools, but they can be used in a variety of projects to help determine how much compression or tension they are applying to two objects concerning each other.
Without measuring pressure directly, homeowners may only guess how much force they exert, such as when closing a gate on its mounting brackets. This causes a problem when the gate’s weight exceeds the bracket’s load capacity. Using a pressure gauge properly is easy to grasp.
Step One
Prepare the push pull gauge to take a measurement. Select the unit of measurement, such as pounds, kilograms, or Newtons, by sliding the selector switch to the appropriate setting. Remember that tension (a pulling force) will be displayed as a positive number.
Keep in mind that compression (a pushing force) will be displayed as a negative number. A gauge indicates tension and compression by pushing out or pulling inward for each unit. Each unit pushes out or pulls in and locks with a click.
The closer to zero the numbers are in the gauge, the closer it is to being centered on the bolt or nut being measured. The closer to zero, the closer it is to being centered on the bolt or nut being measured.
Step Two
Place the load sensor on the back of the gauge. The load sensor is a boxy gadget that weighs 1.0 pounds. Screw the two eye hooks onto the side of the load sensor. The eye hooks are plastic and weigh 0.9 pounds each.
Step Three
Choose between the “Fast” (0.2 seconds) or “Slow” (0.6 seconds) setting for the measurement of rate. Doing so determines how often the load sensor updates its findings to the gauge. Select the desired speed using the switch located on the face of the tool. To zero the meter between measurements, momentarily depress the “Zero” button on the front of the device.
Step Four
Align the load sensor with the object that needs measuring. You must position the load sensor so that there will be no rotation of the object or the load sensor during testing; otherwise, your results will be inaccurate. The correct measurement angle is always 180 degrees or a straight push or pull motion.
Step Five
Put the gauge in measurement mode by sliding the power switch to the “On” position, located on the lower edge of the gauge’s handgrip. You can switch between regular and back-light display modes by reversing the LCD switch beside the “On/Off” switch. Pressing that switch for 15 seconds will illuminate (back-light) the LED display, then shut off.
Step Six
Zero the gauge using the “Zero” button on the face of the tool. Initiate the measurement by applying a straight force to the load sensor. Avoid jerky or unstable pressure during the test, read the succeeded size on the LCD, then release the load on the load sensor.
Step Seven
Press the “Zero” button to take a new measurement before the next test you conduct. Slide the power switch from the “On” position to the “Peak” position to record and display the maximum load measured in a test that includes multiple loads (push or pull), such as strength training or weightlifting. The gauge will record and display just the maximum force attained.
Push Pull Gauge Final Tips
Always press “Zero” before taking a new measurement and observe falling or dangerous objects when high pressures are measured. As a homeowner, you must follow these seven steps to the letter to get the most accurate reading when you’re in the middle of a home improvement project.
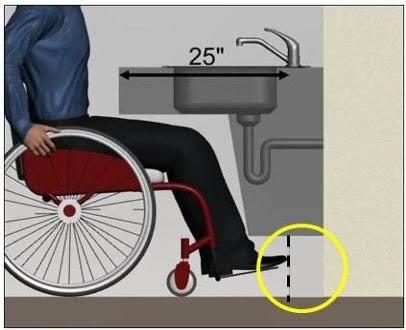
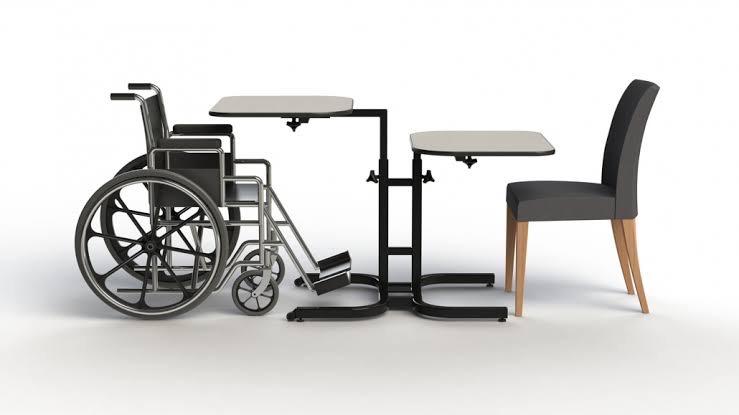
Get your push pull gauge from All Things Inspector today! We carry specialty tools for fire door inspections, ADA door pressure gauges, door gauges, ADA knee clearance, and toe clearance templates that are compliant with industry standards! Check out our online inventory now!