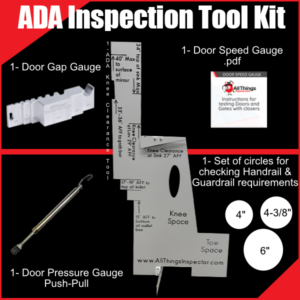
The tools in an ADA Inspection tool kit have a unique purpose and one cannot be substituted for another. To carry out an ADA inspection, these tools must be in place and must be handled professionally to get the best result. The tools needed in an ADA inspection tool kit include a metal measuring tape, a two-foot-long electronic (digital)level, a digital camera, and a pressure gauge.
This article will discuss more about these tools and how to use them. Continue reading to learn more:
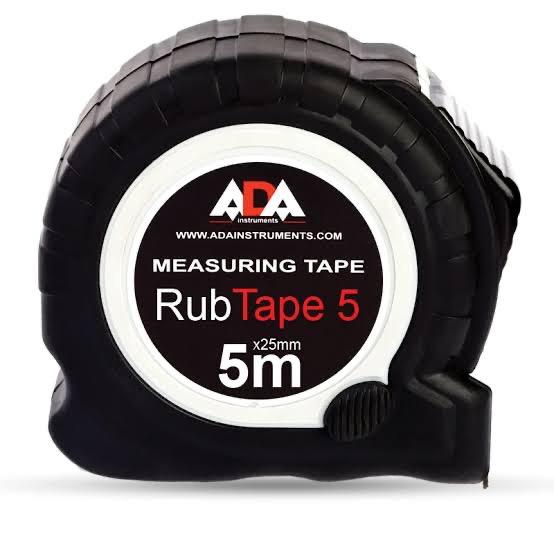
A metal measuring tape is an important tool for an ADA inspection. It is used to measure the width, height, and depth of various features, for accessibility purposes. An ada tape measure is usually 25 to 50 feet long which is necessary to measure long distances, it’s easy to read and it helps inspectors determine accurate data.
People who use wheelchairs, walkers, and other mobility devices may have difficulty accessing a curb or walkways with a slope. The best way to measure the slope of a walkway is to use a two-foot-long electronic (digital) level.
Digital levels are easy to use and you can learn more about it by reading the instructions provided by the manufacturer. For effective use, you must calibrate it every day before using it to measure any slopes and recalibrate it again before using it another time. Calibrating a digital level is also easy and won’t take up to a minute. You can learn more about calibrating it by reading the manufacturer’s instructions.
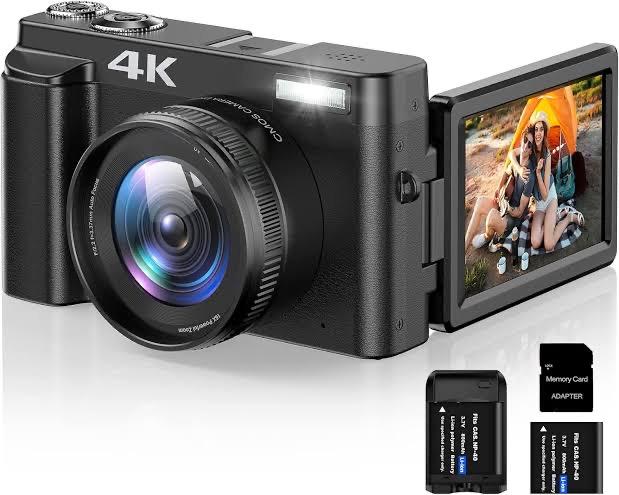
Taking photos is very essential during an ADA inspection. These photos help to fill in the gaps when inspectors make mistakes or a question is accidentally overlooked. A well-taken photograph will help answers explain survey techniques and also help in crafting solutions to accessibility problems. To get the best result, a digital camera with three megapixels of resolution and a zoom lens is highly recommended. Also, include a strap on your camera to prevent it from dropping mistakenly. If possible, your camera should have a date/time stamp setting so that every photograph taken can be well organized. And lastly, remember to charge the camera battery or get a camera that uses disposable batteries.
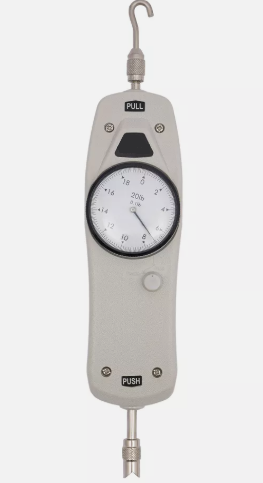
People with disabilities may not have the strength required to open a door or operate a device that requires pushing. If the force required for any operation is more than 5 pounds of force, it’s inaccessible to people with disabilities.
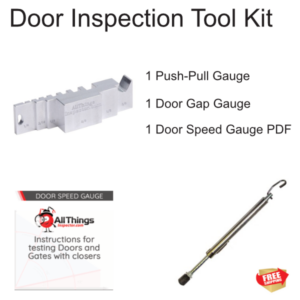
You need to measure these devices to ensure accessibility and the tool required for this measurement is called a pressure gauge. A pressure gauge can be electronic or manual, however, they serve the same purpose which is checking for proper calibration for accessibility. A pressure gauge is used to measure the forces needed to operate:
These ADA inspection tools are easy to use but are well-managed and handled in the hands of a professional. At All Things Inspector, our team is well-equipped with the right tools to carry out an ADA Inspection or survey. We help our clients set up an accessible environment for people with disabilities.
Contact us today to learn more about our services and get started!

Measuring door pressure is acting in compliance with building regulations, like the Americans with Disabilities Act (ADA). It’s an important step in ensuring accessibility, safety

When talking about building safety, the first things that come to mind are fire alarms, emergency exits and security systems. Meanwhile, the one tool that