
Building an ADA-compliant kitchen doesn’t have to involve a full renovation. With a few adjustments, you can ensure ADA clearance in your kitchen and make it more accessible for everyone, including those with disabilities or mobility issues.
This article will provide tips on how to transform your kitchen into an accessible space without breaking the bank or your kitchen.
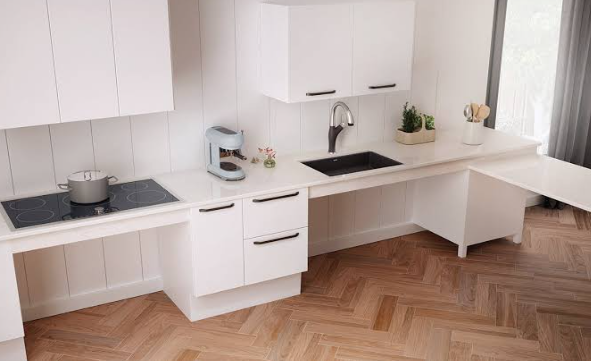
One major requirement for an ADA-compliant kitchen is a clear and spacious pathway. Aim for at least 36 inches of clearance in walkways and around appliances so that wheelchair users can move around easily. Start by removing any unnecessary items like extra stools or baskets to create more space. Consider rearranging the furniture in the kitchen if possible to create open spaces around areas like the sink or countertops.
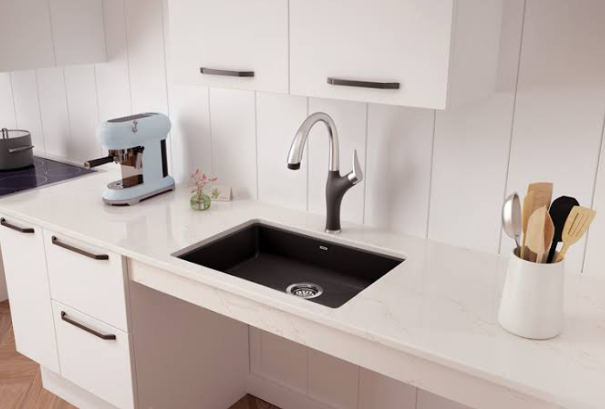
Small adjustments, such as replacing cabinet knobs with D-shaped pull handles can make a big difference in accessibility. Knobs can be difficult for people with limited hand strength to grip, but pull handles are easier to grasp, especially for those with arthritis or limited strength. Also, consider switching any round knobs on your stove or sink with levers because they require less twisting and are easier to operate.
Good lighting is important in an accessible kitchen. Bright, even lighting helps everyone see better but is more useful for those with visual impairments. If your kitchen lighting is dim, add more lighting under cabinets or near workstations. LED strip lights are not expensive and are easy to install; they can make a big difference in illuminating counters. You can also consider smart lighting solutions that can be controlled by voice commands, which makes it even more convenient for everyone.
If it’s within your budget, upgrading a few small appliances can increase accessibility. For example, a faucet with a single lever is easier to use than two separate knobs for hot and cold water. Touchless or motion-activated faucets are also a great option if you have the budget and are willing to make such an investment.
If you don’t have the space or money to install a built-in, lower-height island, consider using a portable one. Portable islands with wheels are convenient and can be moved around at any time. Some even come with adjustable heights, making them a flexible, cost-effective alternative to a permanent installation. They provide more workspace and can be set up at a height that wheelchair users can access.
You don’t need to make a full-scale renovation in your kitchen to make it ADA-compliant. You can achieve this by following the simple steps explained in this article. Small thoughtful changes can go a long way in creating a kitchen that’s accessible and welcoming for everyone, regardless of physical ability.
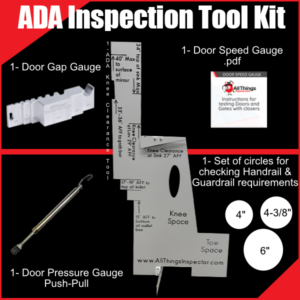


When it comes to ADA (Americans with Disabilities Act) compliance, you have two options as a business owner: either hire a certified ADA inspector or
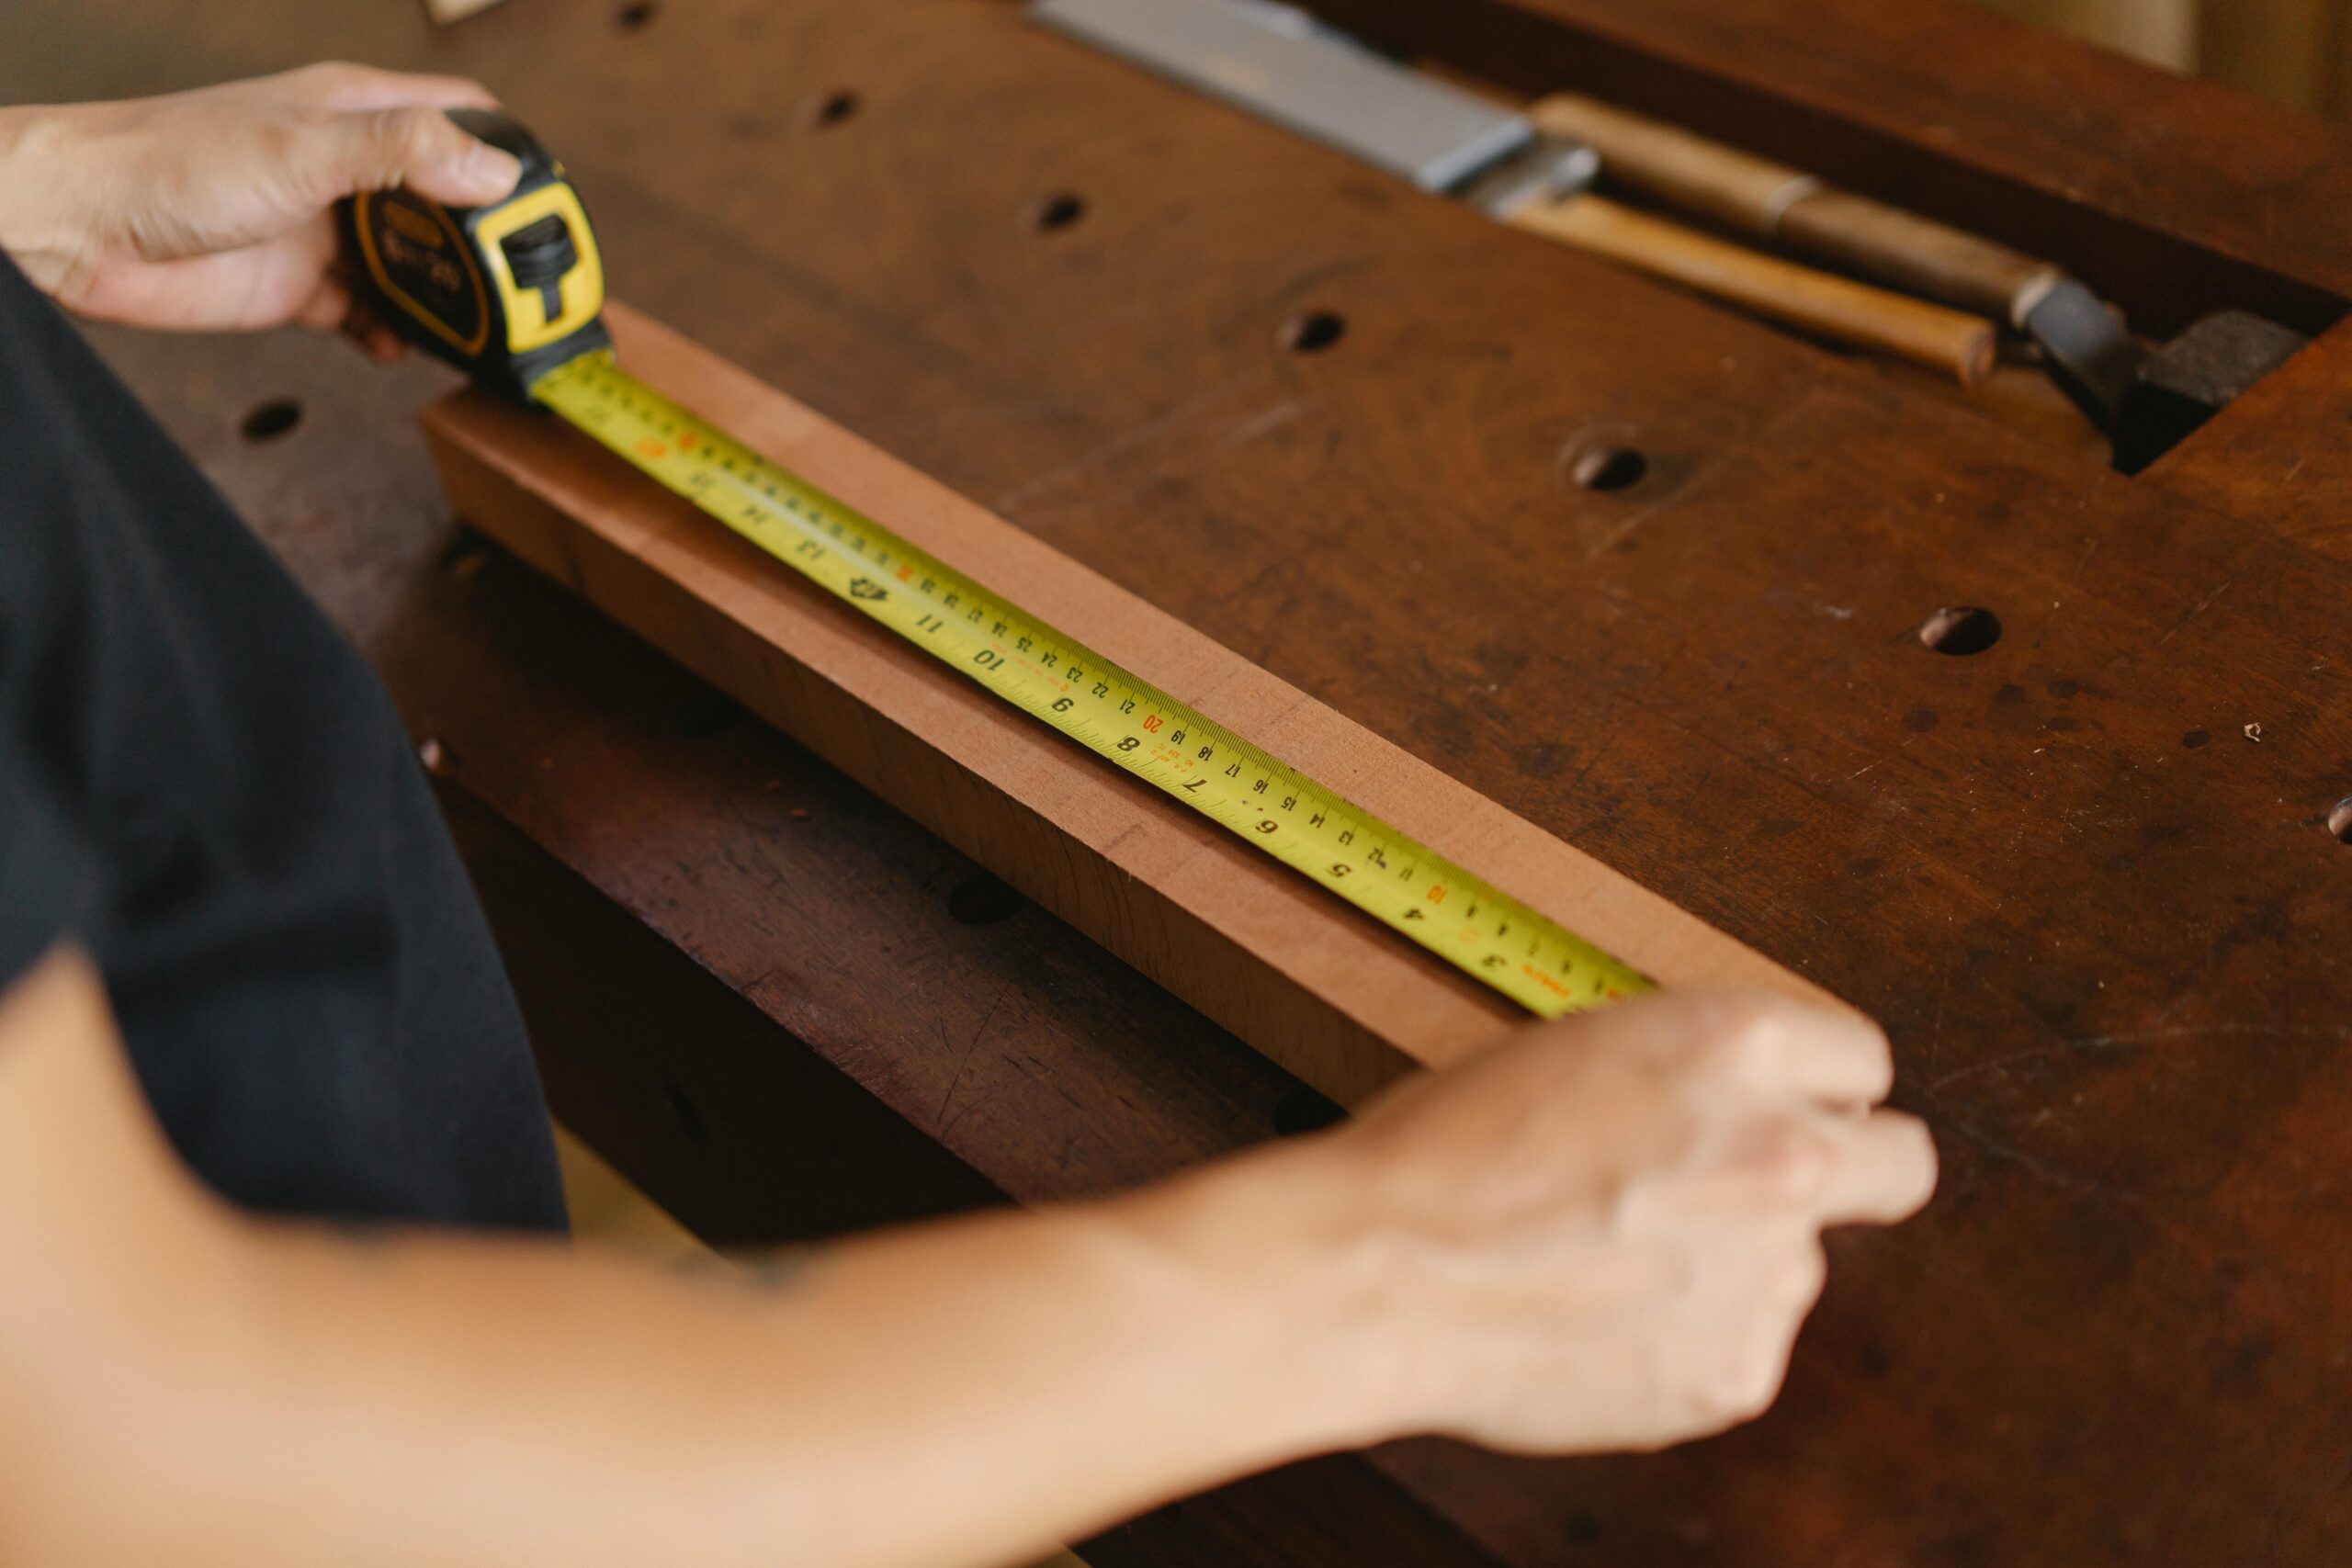
It’s possible to mistake a standard tape measure for an ADA tape measure because they look almost identical. After all, both are used for measuring
Building an ADA-compliant kitchen doesn’t have to involve a full renovation. With a few adjustments, you can ensure ADA clearance in your kitchen and make it more accessible for everyone, including those with disabilities or mobility issues.
This article will provide tips on how to transform your kitchen into an accessible space without breaking the bank or your kitchen.

One major requirement for an ADA-compliant kitchen is a clear and spacious pathway. Aim for at least 36 inches of clearance in walkways and around appliances so that wheelchair users can move around easily. Start by removing any unnecessary items like extra stools or baskets to create more space. Consider rearranging the furniture in the kitchen if possible to create open spaces around areas like the sink or countertops.
Small adjustments, such as replacing cabinet knobs with D-shaped pull handles can make a big difference in accessibility. Knobs can be difficult for people with limited hand strength to grip, but pull handles are easier to grasp, especially for those with arthritis or limited strength. Also, consider switching any round knobs on your stove or sink with levers because they require less twisting and are easier to operate.
Good lighting is important in an accessible kitchen. Bright, even lighting helps everyone see better but is more useful for those with visual impairments. If your kitchen lighting is dim, add more lighting under cabinets or near workstations. LED strip lights are not expensive and are easy to install; they can make a big difference in illuminating counters. You can also consider smart lighting solutions that can be controlled by voice commands, which makes it even more convenient for everyone.
If it’s within your budget, upgrading a few small appliances can increase accessibility. For example, a faucet with a single lever is easier to use than two separate knobs for hot and cold water. Touchless or motion-activated faucets are also a great option if you have the budget and are willing to make such an investment.
If you don’t have the space or money to install a built-in, lower-height island, consider using a portable one. Portable islands with wheels are convenient and can be moved around at any time. Some even come with adjustable heights, making them a flexible, cost-effective alternative to a permanent installation. They provide more workspace and can be set up at a height that wheelchair users can access.

You don’t need to make a full-scale renovation in your kitchen to make it ADA-compliant. You can achieve this by following the simple steps explained in this article. Small thoughtful changes can go a long way in creating a kitchen that’s accessible and welcoming for everyone, regardless of physical ability.